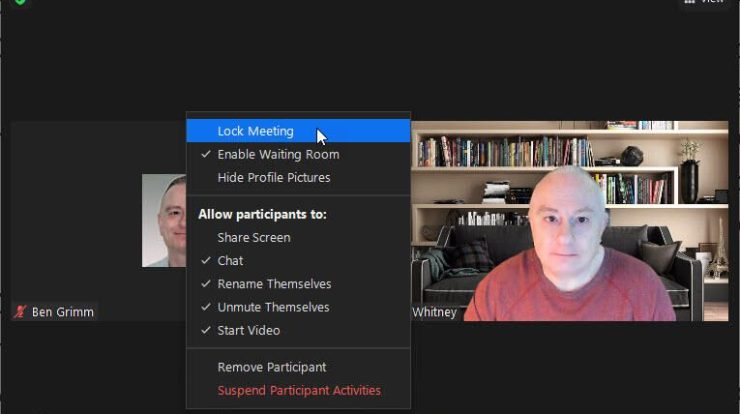
You can manage participant access by locking meetings using a work or school account for Microsoft Teams. This walk-through explains the process.
You’d like to better secure your Microsoft Teams meetings by stopping uninvited guests or even latecomers from interrupting you. Microsoft offers a couple of ways to do this, but one option is to simply lock the meeting. That capability is an improvement over the older process, in which you had to respond to each visitor individually.
SEE: 250+ tips for telecommuting and managing remote workers (TechRepublic Premium)
When you lock a meeting, the person receives a notification telling them that the meeting is locked. People who were invited to the meeting but are unable to join can still access the meeting chat, recording and other info. If necessary, you can easily unlock an existing meeting to allow latecomers to participate. Here’s how it works.
First, make sure you’re signed into Teams with your work or school account. Before you start or schedule your meeting, be sure that the participants know that it will be locked after a certain amount of time, perhaps 10 minutes, for example.
After the meeting has started, click on the Participants icon at the top to display the meeting attendees. In the Participants page, click the ellipsis icon and select the option for Lock The Meeting (Figure A).
Figure A

A confirmation message appears on the screen telling you that no one else will be able to join, but invitees can still access the meeting chat, the recording and other meeting info. Click the Lock button (Figure B).
Figure B

Anyone who now tries to join the meeting will receive a notification telling them that the meeting is locked. They can still participate in the chat while the meeting is running and view the transcript or recording after the meeting has ended.
To unlock the meeting at any time, just click the ellipsis icon in the Participants pane again and select the option for Unlock The Meeting (Figure C).
Figure C


